Back home, I inspected the
contents & instructions. Velux instructions consist of coloured diagrams with
numbers and arrows. Familiarity with
Ikea type instructions is probably an advantage. The flashing kit has its own set of similar
instructions. Both sets are designed for
the situation where you are building a new roof. I searched the box and the Velux website, but I didn’t find
any instructions for retro-fitting a new Velux window
to an existing roof. Please! (Actually, for
architects, the website contains loads
of stuff to aid specification).
What I did find on
the internet was Simon Nuttal’s home site which contains a very helpful ” Loft
Window” description of making a hole in an existing roof and installing a Velux window. Thank
you Simon.
With the Velux frame propped up on its side and held by an
assistant, I pressed in the little
locking buttons and rotated the window around until it came free and then
lifted it out (carefully, because it’s heavy). I also removed a couple of fragile-looking
pieces of facia trim from the window part, so they would not be damaged when the
window was moved to the attic. (How was
I going to do this?) Having removed the
window, the Velux frame could be lifted easily by one person. The separate window was still heavy!
There were two
people who I cursed roundly a number of times while I installed the window:
- the man who removed the attic stairs and
left a mere small hatch for access into the attic.
- the person who tarred the slates.
|
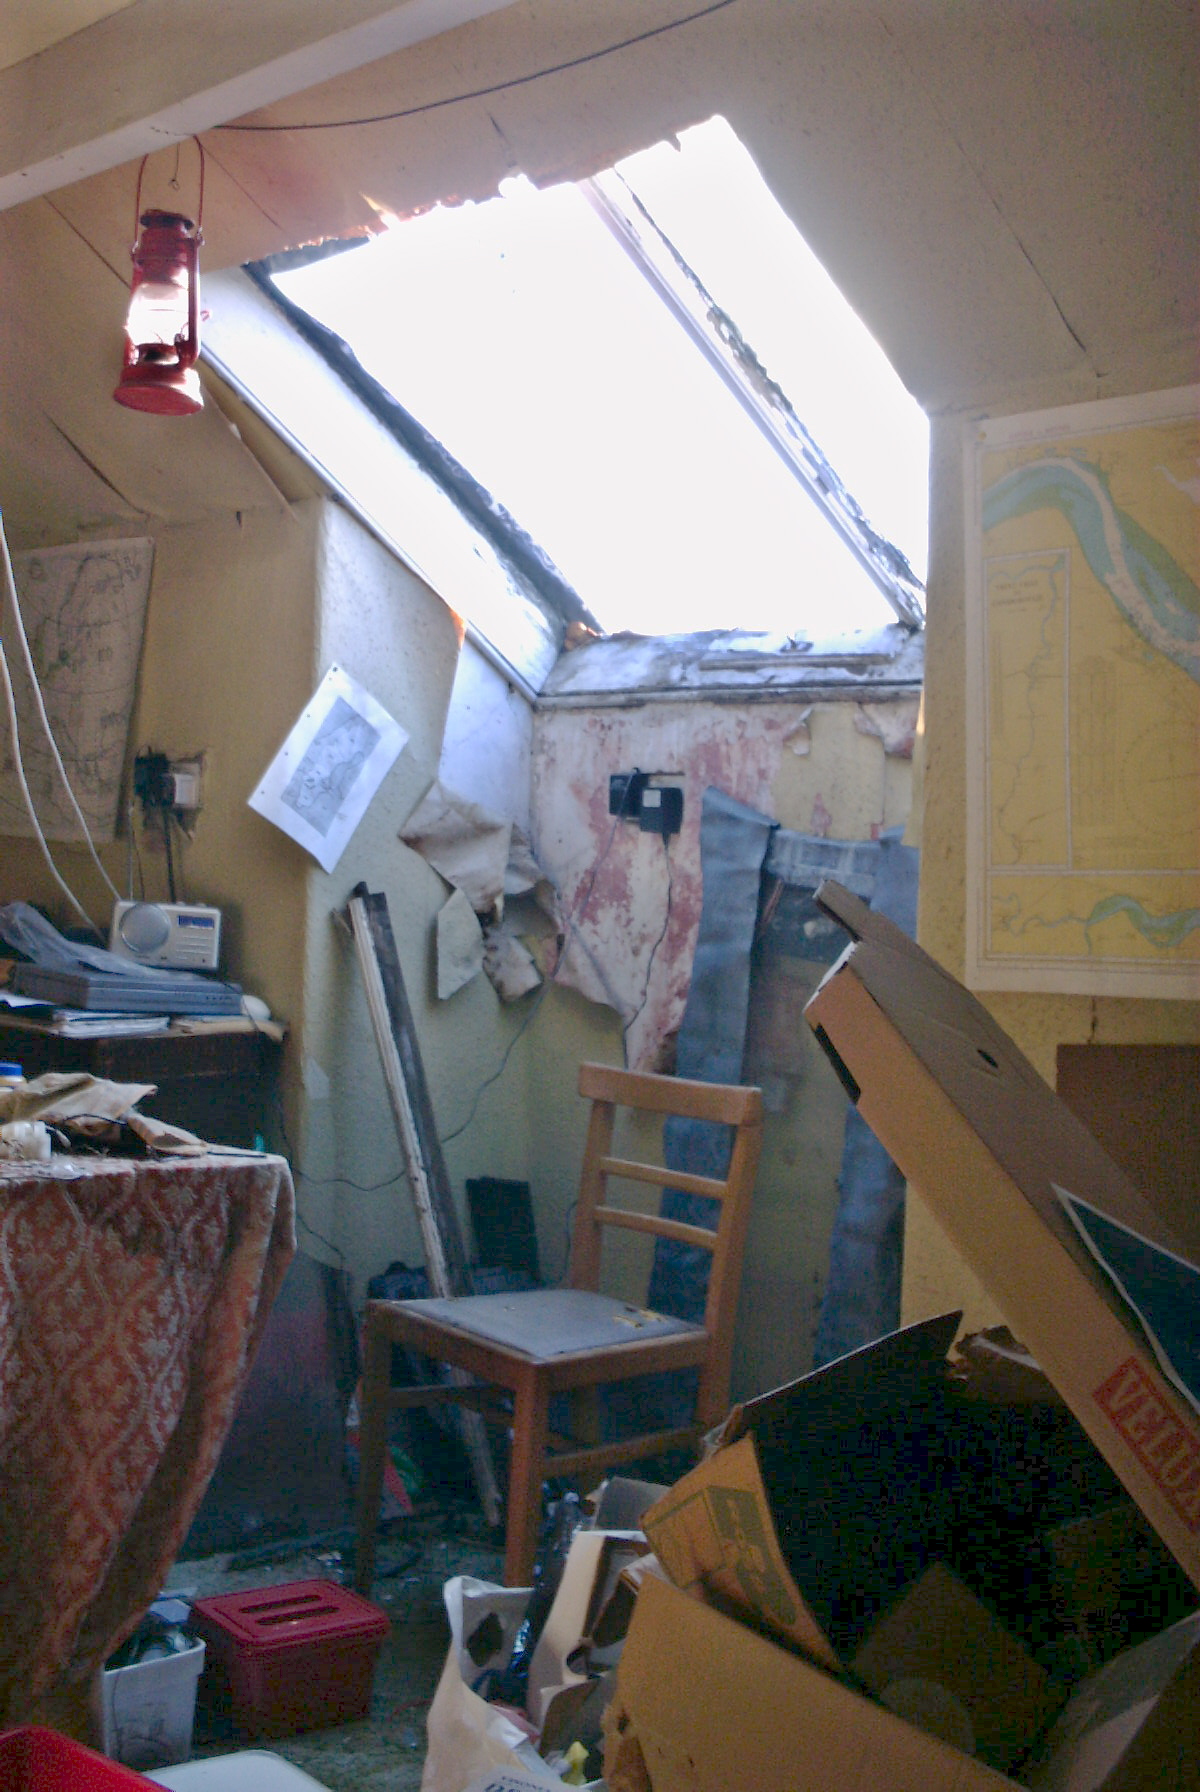
Anything the
size of the new window would have to be hauled up the front of the
house. I set about removing the old
window in order to make a big enough hole to pass the new parts through. This wasn’t difficult. The picture shows
the opening after part of the frame was simply lifted out by hand! |
|
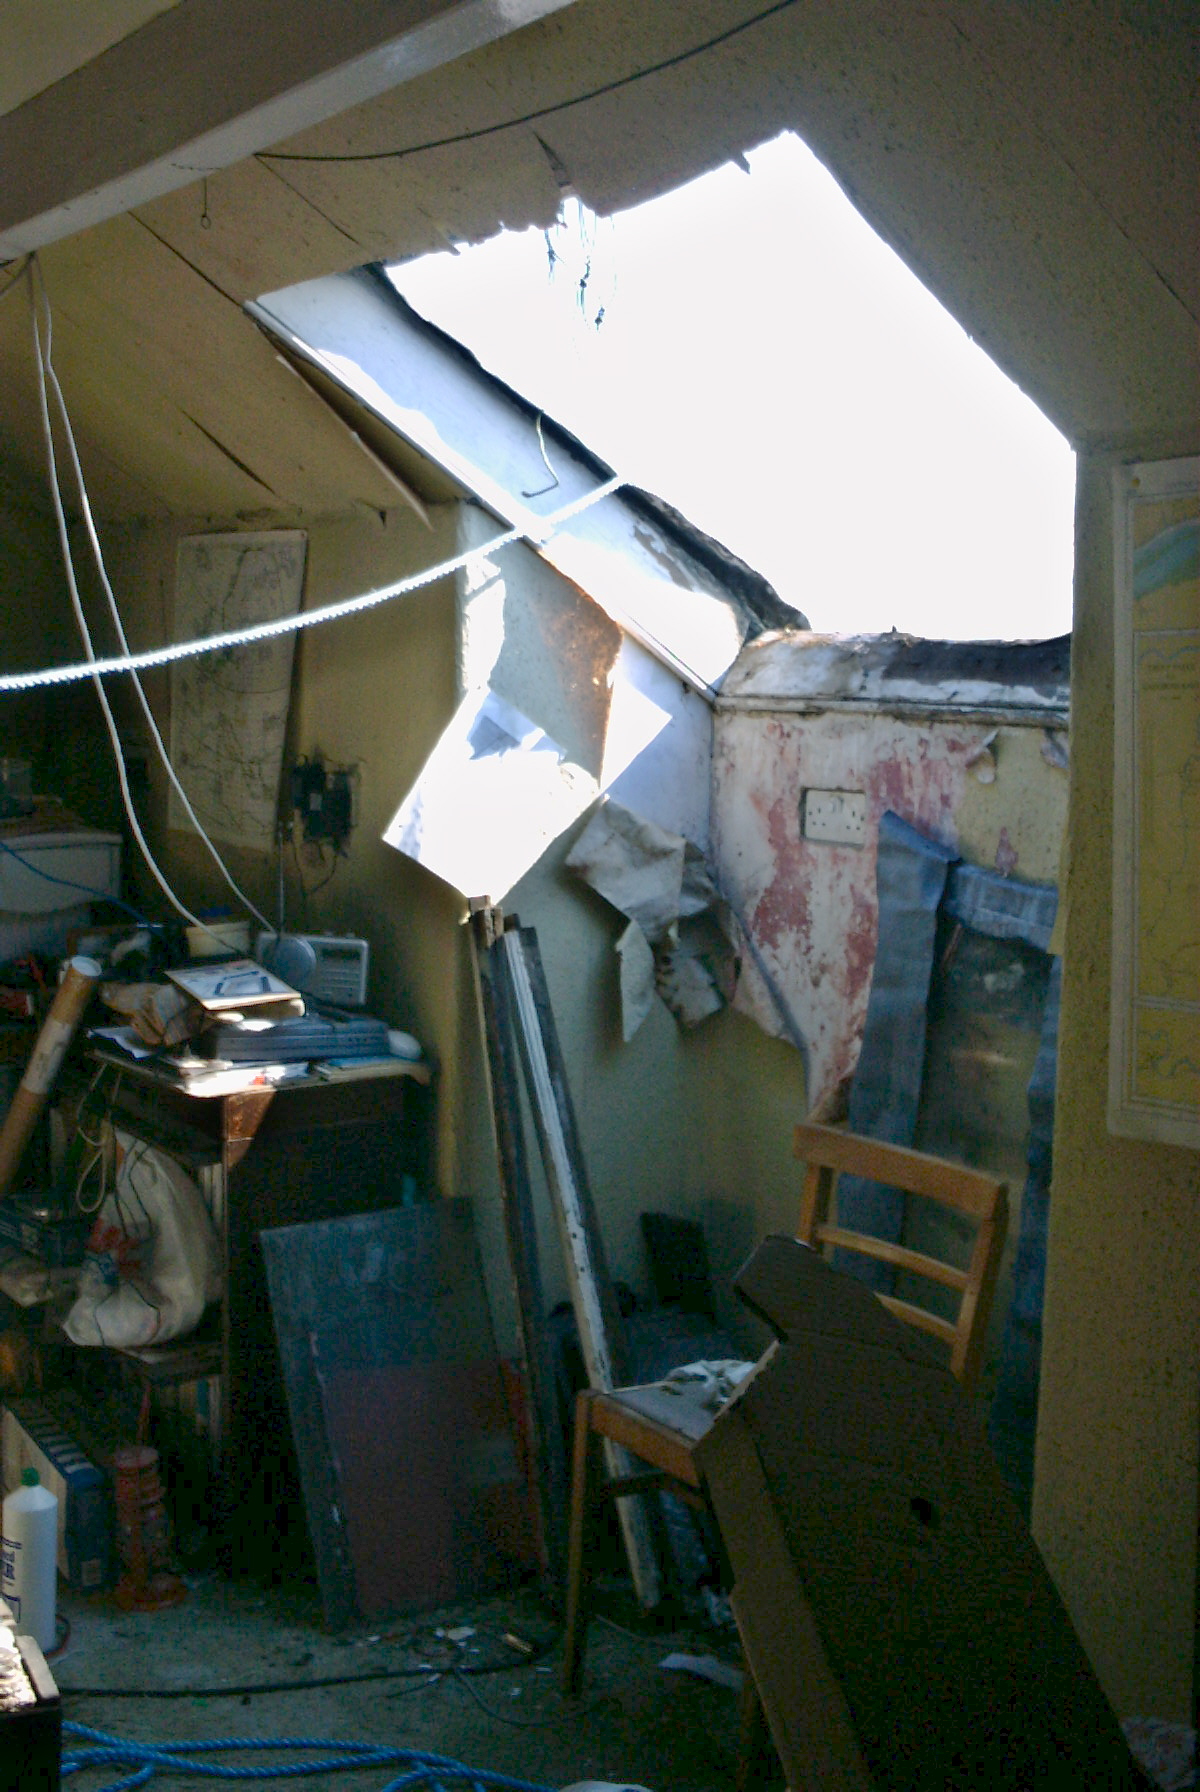
The other part
followed just as easily. |
|
p2