With a big hole in
the roof, I lowered a rope halyard and
hauled the Velux frame up to the gutter (whilst sitting on the bottom of the
crawling ladder) and man-handled it through the hole into the attic. Quite easy!
|
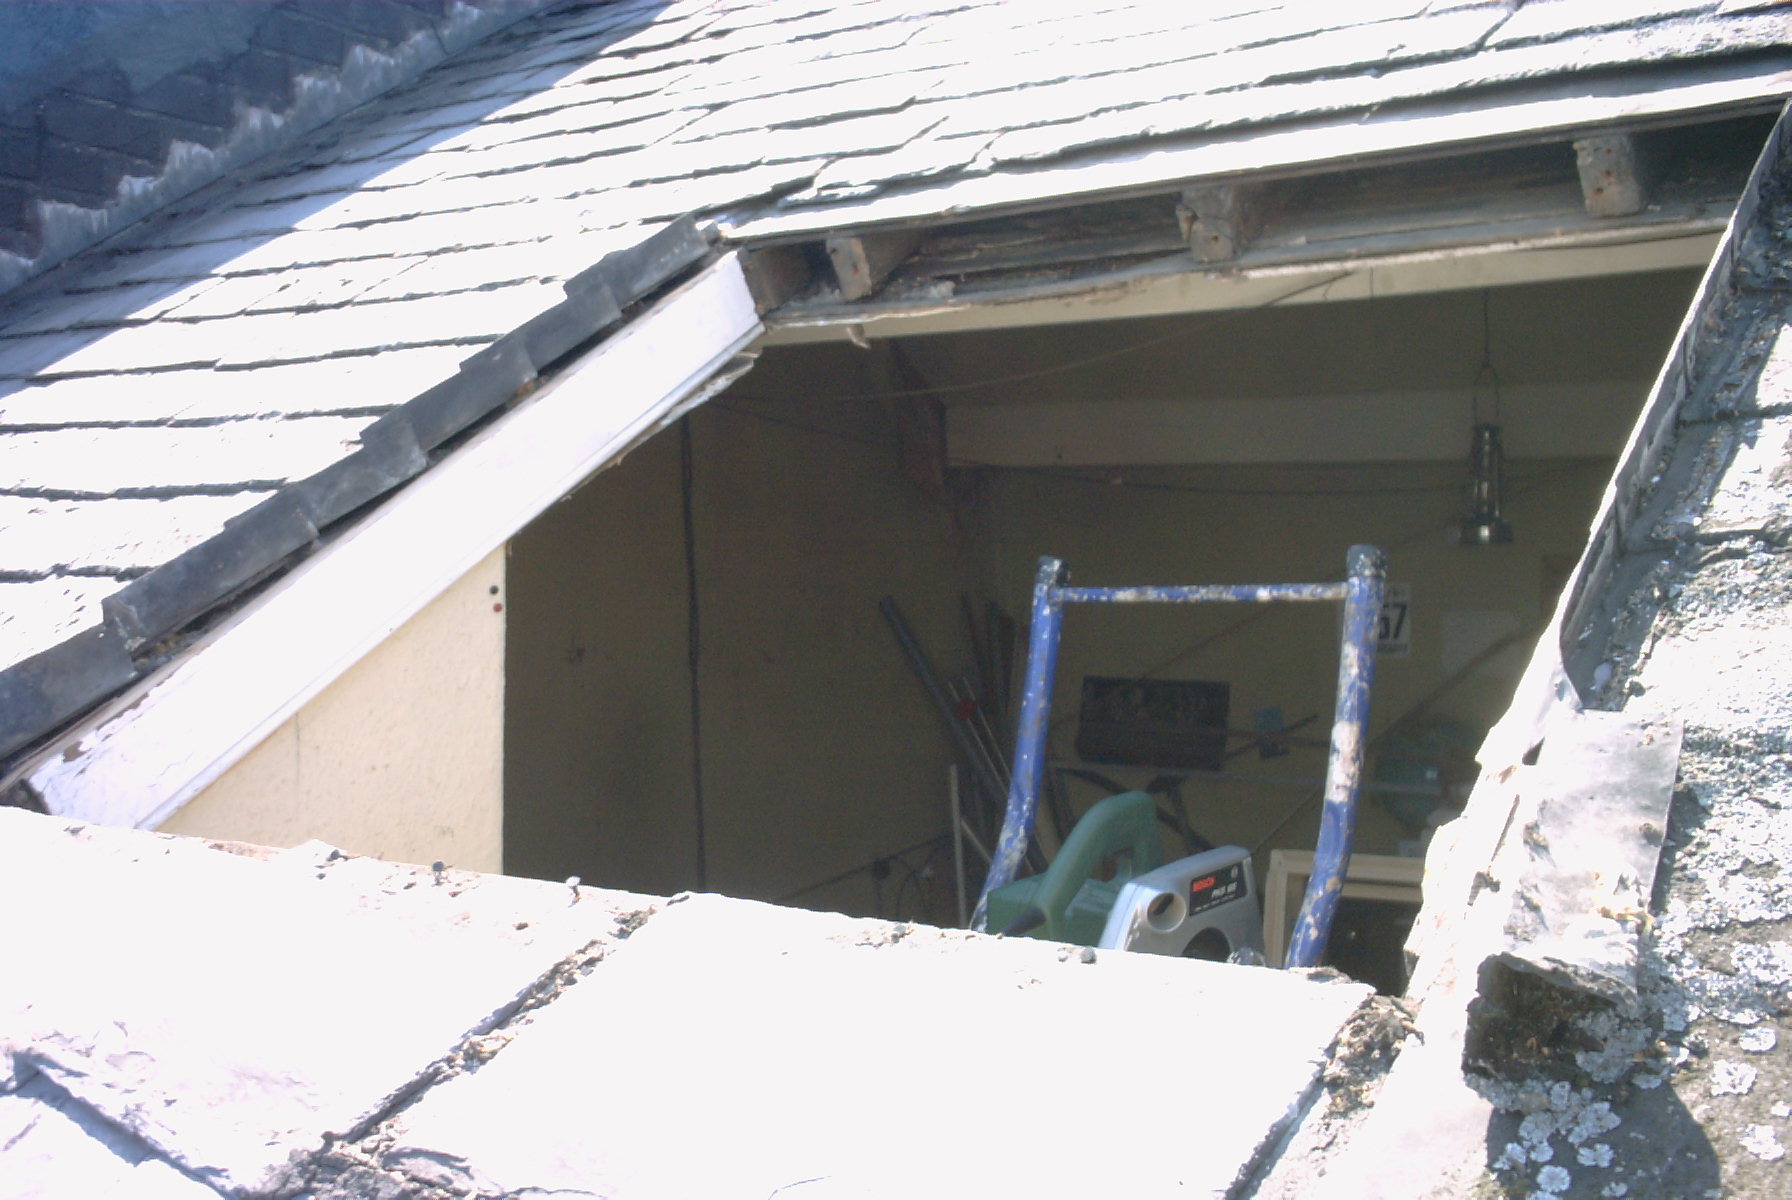
The picture shows
the Velux frame resting upside down,
the black plastic air vent part at the bottom of the picture. With the base of
the old frame removed, I tried resting
the Velux frame above the existing window frame to see how it might fit. |
|
The hole needed
to be significantly taller and width wise there wasn’t enough room either! |
|


|
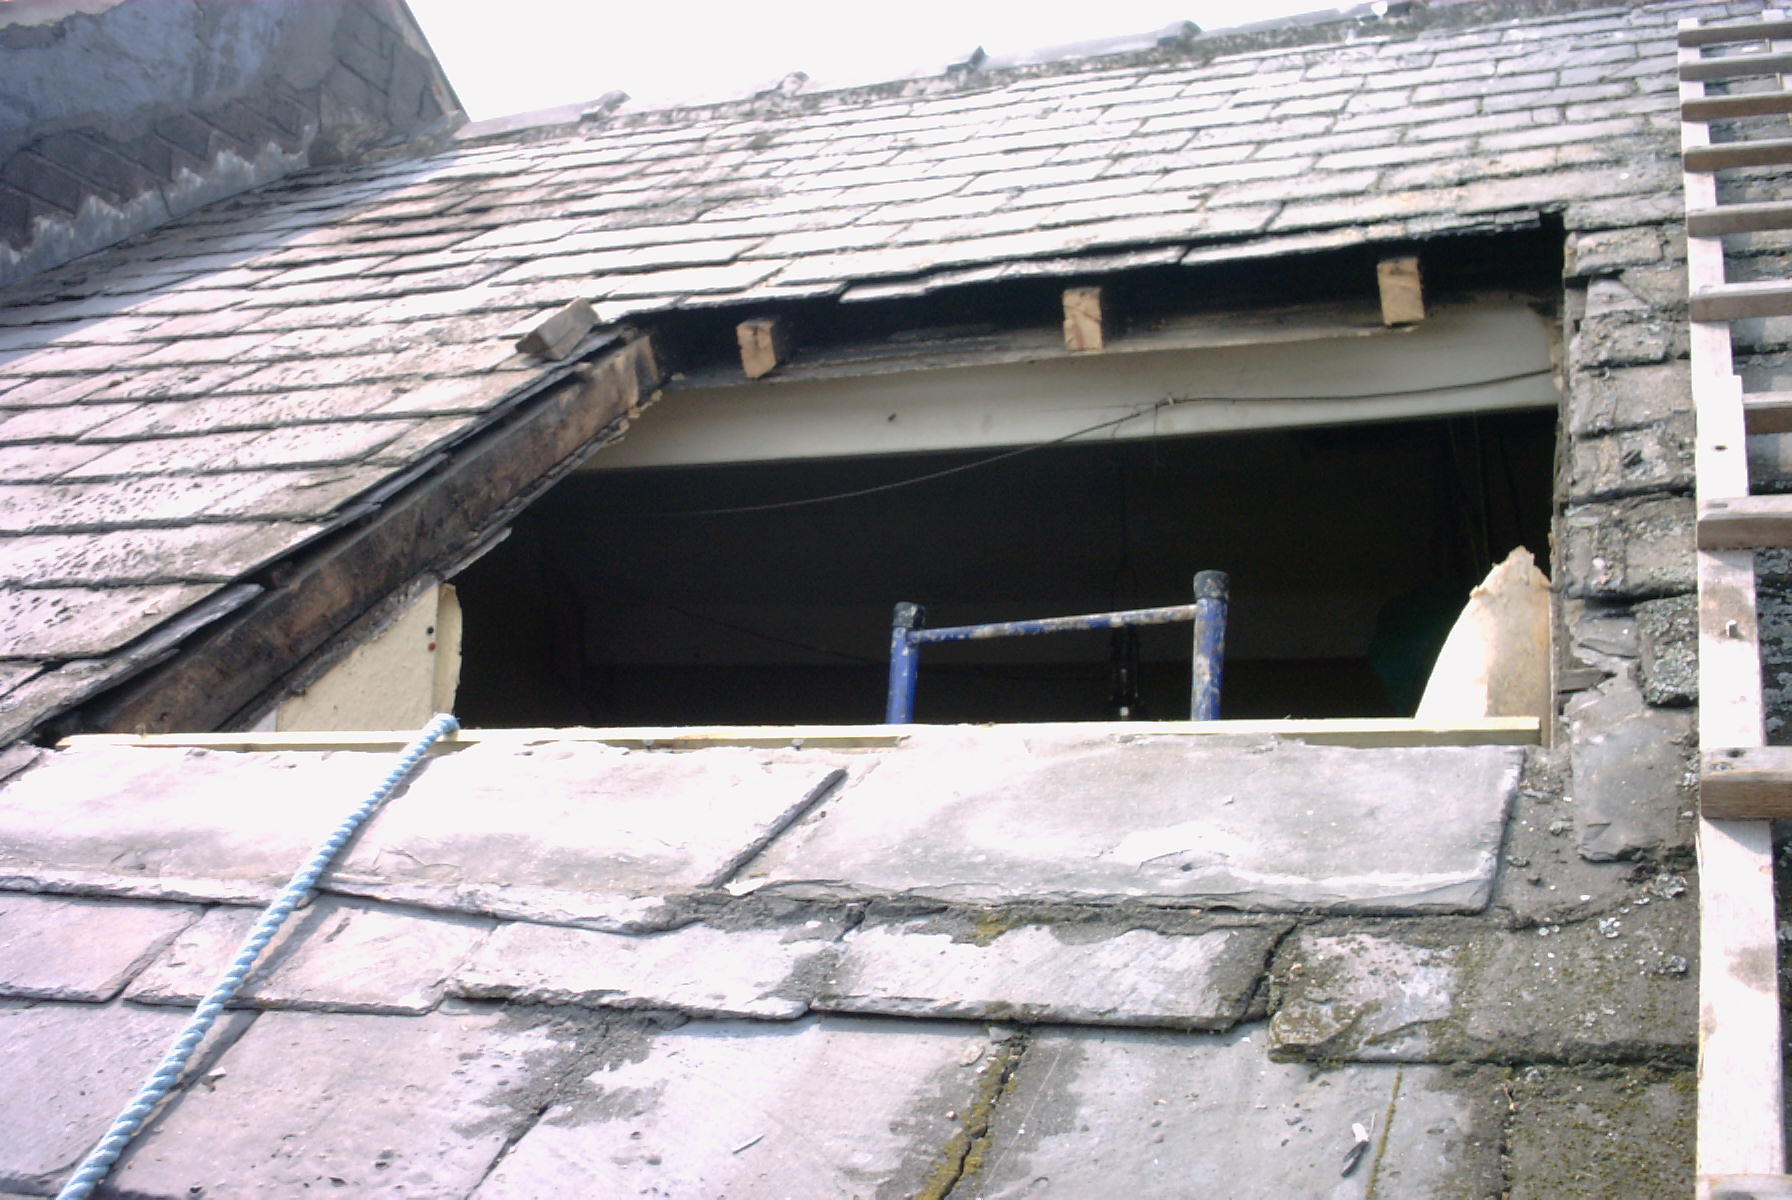
I nibbled back
the slates above the hole, exposing a wooden
board above the rafters which had previously supported the slates & lead
flashing together with a good deal of soil and flora including some sort of
alpine succulent. |
|
|
The hole needed
to be significantly taller and width wise there wasn’t enough room either! (
“It might even drop straight in!“ Ha!) I decided to
remove the whole of the existing supporting frame and replace it with
slightly thinner timber: 2cm instead
of 1”. This meant there would be
enough clearance for the Velux frame in width. I installed a
new base board for the supporting frame and measured up 124.5cm height (118cm
+ 4.5cm clearance + 2cm) for the upper side of the frame and marked the upper
rafters for trimming. The picture
shows the trimmed rafters and also all the old flashing removed. The two rows of slates below the hole
needed refitting. They were just held
on with tar. That bl**dy tar! |
|
P3