|
I spent some
time scraping off tar and re-laying slates.
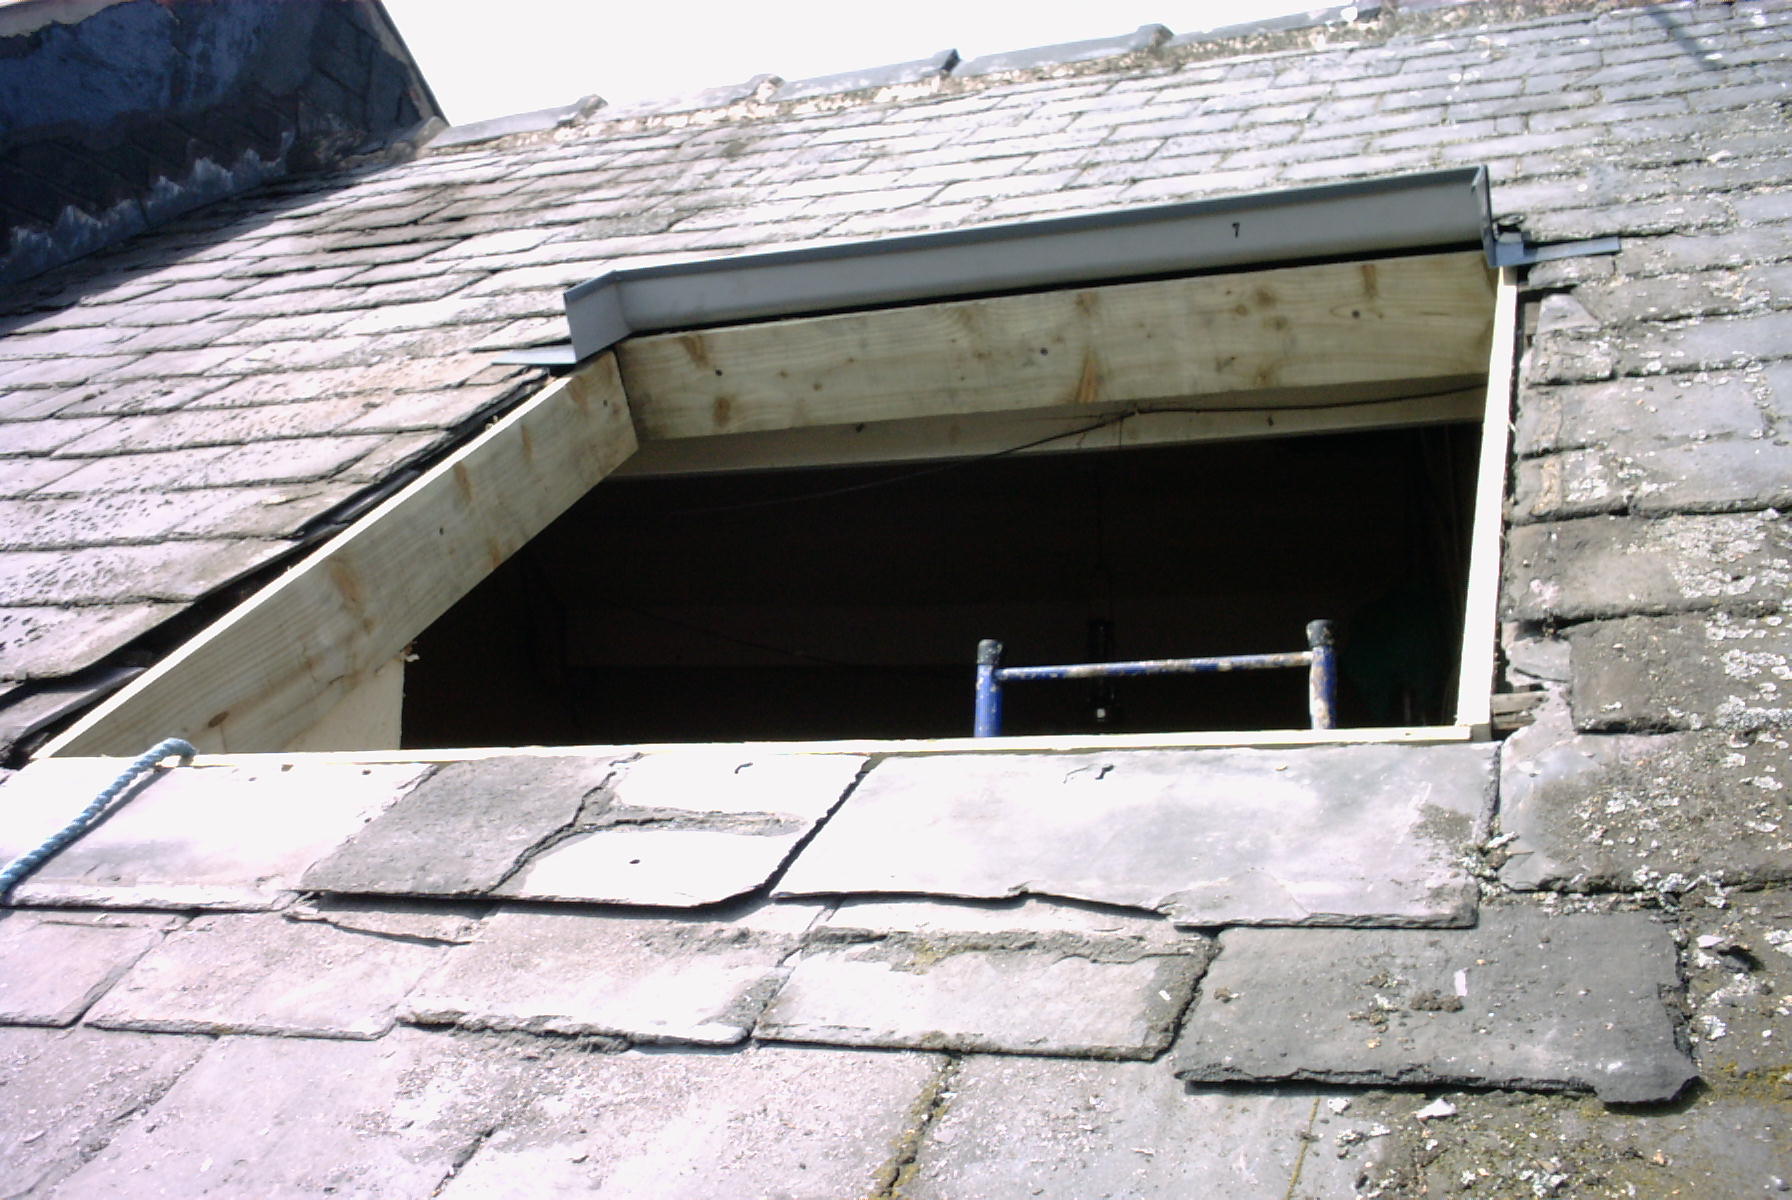
I added the rest of the supporting frame boards, screwing them to the rafters. Then I tried positioning the Velux frame
(not shown here) on top of the supporting frame. It fitted well, but checking with a spirit-level, I found that the lower board was about 1cm
out at one end, distorting the Velux
frame slightly. So I removed the Velux
frame and adjusted the outer supporting frame accordingly. Also,
as Simon Nuttal
points out, I needed to insert the
‘last’ (upper) piece of flashing first,
as it is impossible to put this in with a roof-full of slates already
there. The picture shows the complete
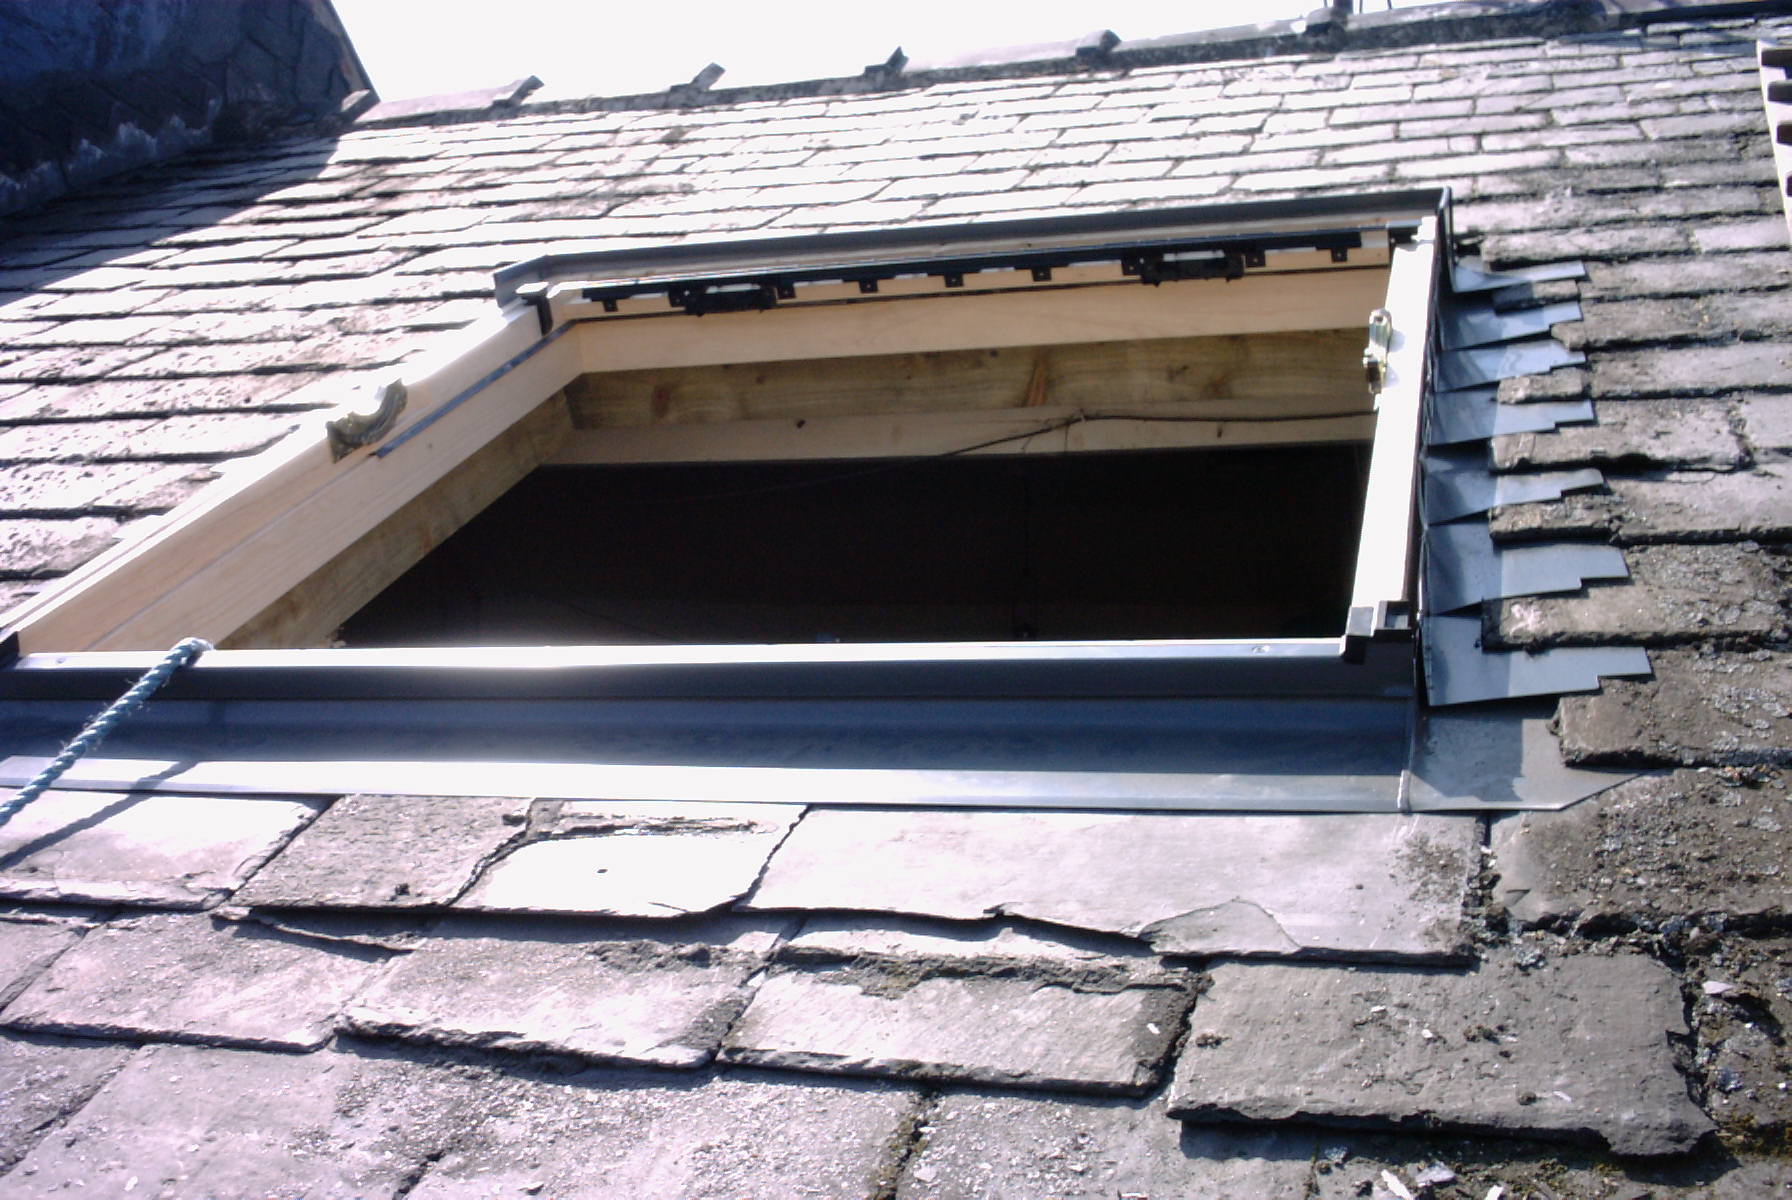
outer frame and the upper flashing (ink-marked ‘7’) in position. Note: I found that order to get the Velux frame
back in position after the upper flashing was in that I had to trim the part
of the flashing which slides up under the slates. I took about 10cm off using kitchen
scissors. This meant I could push it
far enough up under the slates to clear the fixing brackets on the Velux
frame, allowing the Velux frame to be
screwed to the supporting frame.
Fortunately I found I had already nibbled off enough slate above the
skylight hole to allow this. Pushed
right up, the flashing came up against
the next batten, but left room to fix
the frame brackets. Then it could be
slid back down to seal against the frame still preventing water penetration
between the slates. Some side-to-side
play was helpful too, again to allow
access to the fixing brackets when the Velux frame was in position. |
|
|
Then the Velux
frame was placed back in position,
nicely level this time. The squareness
of the corners of the Velux frame was checked and the corner brackets screwed
to the supporting frame. I found that
the Velux frame could be distorted out of shape quite easily, so I took great care that it laid
flat, level (for the horizontal bits)
and square. The first (lower) piece of
flashing was added. Then with much
hacking of tar and cursing, the side
flashing was added and tucked under the top flashing which was already in
place. |
|
P5